
Databricks Managed Iceberg table configuration
For Bufstream to export data to Databricks Managed Iceberg tables, you need Bufstream 0.4.5 or newer and you need to update your configuration.
TL;DR
Start by configuring a schema provider. Then, configure Bufstream for for Databricks:
# Add a Databricks catalog as a REST catalog, using an OAuth secret or
# Personal Access Token (PAT):
iceberg:
  - name: databricks
    rest:
      url: https://DATABRICKS_INSTANCE_NAME/api/2.1/unity-catalog/iceberg-rest
      warehouse: DATABRICKS_CATALOG_NAME
      oauth2:
        token_endpoint_url: https://DATABRICKS_INSTANCE_NAME/oidc/v1/token
        scope: all-apis
        # Names of environment variables containing secrets. `string` can be
        # used instead of env_var to store the credential's value directly
        # within the file.
        client_id:
          env_var: DATABRICKS_CLIENT_ID
        client_secret:
          env_var: DATABRICKS_CLIENT_SECRET
# Configure a schema registry.
schema_registry:
  bsr:
    host: buf.build
Update your configuration, restart Bufstream, then configure topic parameters:
Configure topic for Iceberg
bufstream kafka config topic set --topic my-topic --name bufstream.export.iceberg.commit.freq.ms --value 300000
bufstream kafka config topic set --topic my-topic --name bufstream.export.iceberg.catalog --value databricks
bufstream kafka config topic set --topic my-topic --name bufstream.export.iceberg.table --value bufstream.my_topic
After the commit frequency passes, you'll soon see new topic data appear in Databricks.
Overview
Configuring Bufstream's export to Databricks Managed Iceberg tables is typically four steps:
- Gather necessary Databricks information.
- Configure a schema provider. Schema providers allow Bufstream to generate and maintain Iceberg table schemas that match your Protobuf message definitions.
- Add a catalog to Bufstream's configuration.
- Set topic configuration parameters for catalog, table name, and export frequency.
Once you've set these options, Bufstream begins exporting topic data to Databricks.
Gather Databricks information
Start by signing in to Databricks and navigating to your workspace. Gather the following information:
- Your Databricks instance name. (If you log into
https://acme.cloud.databricks.com/, your instance name isacme.cloud.databricks.com.) - Your Databricks catalog name.
- OAuth credentials for a service principal or a personal access token.
Configure a schema provider
Start by making sure you've configured a schema provider: a Buf Schema Registry or Buf input.
Don't forget to configure a schema provider and set topic configurations like buf.registry.value.schema.module and buf.registry.value.schema.message!
Add a catalog
Before configuring topics, add at least one catalog to your top-level Bufstream configuration in bufstream.yaml or, for Kubernetes deployments, your Helm values.yaml file. Assign each catalog a unique name.
To use a Databricks catalog with Bufstream, add a catalog with the rest key and your workspace's configuration.
The following example is a minimal configuration using OAuth for access. Personal access tokens work, too.
iceberg:
  - name: databricks
    rest:
      url: https://DATABRICKS_INSTANCE_NAME/api/2.1/unity-catalog/iceberg-rest
      warehouse: DATABRICKS_CATALOG_NAME
      oauth2:
        token_endpoint_url: https://DATABRICKS_INSTANCE_NAME/oidc/v1/token
        scope: all-apis
        # Names of environment variables containing secrets. `string` can be
        # used instead of env_var to store the credential's value directly
        # within the file.
        client_id:
          env_var: DATABRICKS_CLIENT_ID
        client_secret:
          env_var: DATABRICKS_CLIENT_SECRET
Bufstream's reference documentation describes all REST catalog configuration options for both bufstream.yaml and Helm values.yaml, including OAuth and bearer token authentication.
Configure topics
Last, set the following required topic configuration parameters. It's OK to update these on an existing topic.
bufstream.export.iceberg.catalog: This must be the name of a catalog in your Bufstream configuration.
bufstream.export.iceberg.commit.freq.ms: How often data is flushed to a new snapshot.
bufstream.export.iceberg.table: This must be a valid namespace and table for the configured catalog in the form
namespace.table.There must be at least one component in the namespace; a value of
tableis considered invalid since it includes no namespace component.
You can also set the following optional properties:
bufstream.export.iceberg.granularity: The granularity to use for partitioning the table by date/time. If omitted, the table won't be partitioned by date/time.
Valid options are
MONTHLY,DAILY,HOURLY, or no value (default).bufstream.export.iceberg.use.ingest.time: Whether to use the ingestion timestamp of the record for date/time partitioning. If false, the record timestamp is used.
Valid options are
TRUE,FALSE(default).bufstream.export.iceberg.partition.fields: Additional fields to use for partitioning the table. See partitioning tables for details and examples.
Bufstream supports reading and updating topic configuration values from any Kafka API-compatible tool, including browser-based interfaces like AKHQ and Redpanda Console.
Query your table
After your topic is configured, Bufstream will wait up to 30 seconds to start exporting data. If you've set your commit frequency (bufstream.export.iceberg.commit.freq.ms) to five minutes, that means you should start to see records arrive in Databricks within five and a half minutes.
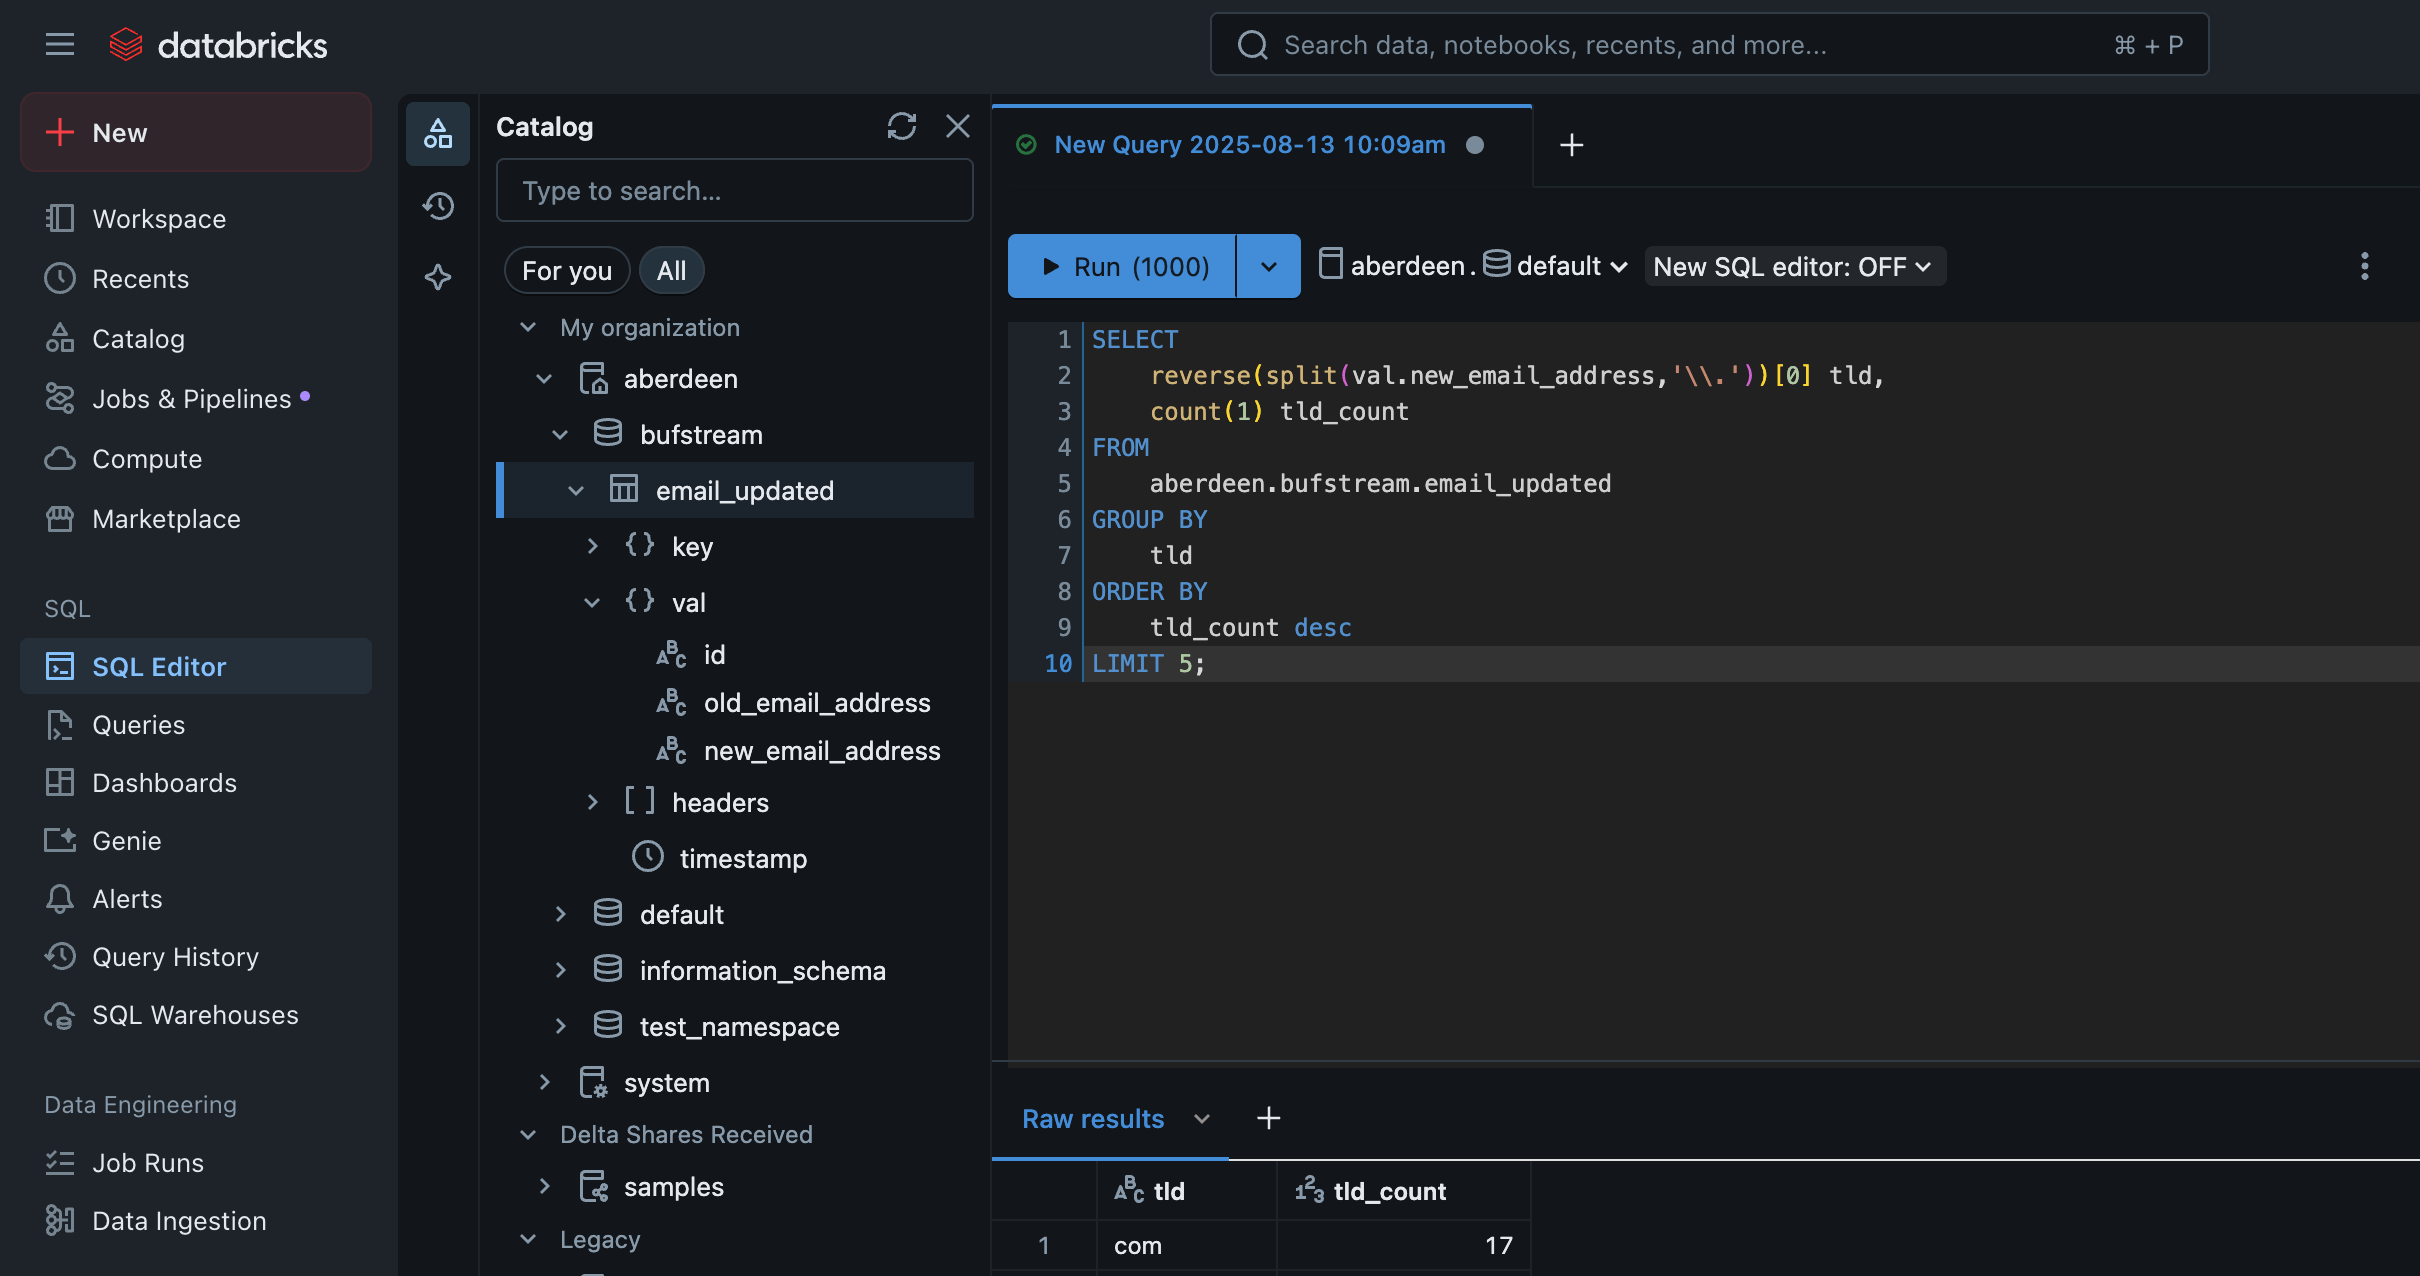
Once you see your table in Databricks, you can start querying your Kafka records' keys and values:
Partitioning tables
Bufstream allows you to list additional fields used to partition the table. Each element in the list is the path to a field that should be used for partitioning. All values referenced must be leaf (scalar) fields.
To refer to fields in the record key, when the key is associated with a Protobuf schema, use the prefix key:. You can optionally use the prefix val: to indicate fields in the record value. If neither prefix is present, val: is assumed.
If there is no Protobuf schema, you can use * to use the raw bytes as the partition field. You can use this with the key: prefix to indicate that the raw bytes of the record key should be used.
Each element can have an optional /N suffix, where N is the number of buckets. When this is used, instead of the field value being directly used as the partition field, the value is hashed and then assigned a bucket between 0 and N-1 (inclusive). This allows the data to be partitioned into a fixed number of groups, which is particularly useful for partitioning by high cardinality fields without leading to many small partitions (which leads to many small data files, reducing query performance for queries that do not filter based on the high cardinality field).
Examples
key:*/8Partition by the record's raw key bytes, hashing into eight buckets.
val:sales.ae.idPartition by a field in the record value. The value is a message with a message field named
sales. That message has a message field namedaewith a field namedid. The table will have a partition for each distinctidvalue.address.zip_code/32Partition by a field in the record value. Similar to above, the value is a message with a field named
address, which is a message with a field namedzip_code. Thezip_codevalue will be hashed into one of 32 buckets, so the table will have up to 32 partitions for zip codes.